How to Make Henna Paste for Cones : A Step-by-Step Guide
Introduction
Creating your own henna paste for cones allows you to achieve a rich, vibrant color and precise application for intricate designs. Whether you’re a professional henna artist or a DIY enthusiast, mastering the art of henna paste preparation is essential for beautiful and lasting results. In this guide, we’ll walk you through the process of making henna paste for cones, covering everything from ingredients to application tips.
Why Use Henna Cones?
Henna cones are a popular tool for applying henna designs, offering greater control and precision compared to other methods. They are particularly useful for detailed patterns and designs, making them a favorite among henna artists. Additionally, using cones allows for easy application and mess-free handling, ensuring clean and crisp designs.
Ingredients for Henna Paste
- Henna Powder: Use high-quality, fresh henna powder to ensure a vibrant color and smooth paste. Look for 100% pure henna without additives.
- Acidic Liquid: Lemon juice or a mild acidic solution helps release the dye from the henna powder, enhancing color intensity.
- Essential Oils: Optional but recommended for improving paste consistency and scent. Common choices include eucalyptus, lavender, or tea tree oil.
- Sugar: A small amount of sugar helps to make the paste more sticky and easier to work with, enhancing the stain.
Equipment Needed
- Non-metallic Mixing Bowl: Use a plastic or glass bowl to avoid any reactions with the henna.
- Spoon or Whisk: For mixing the paste.
- Plastic Wrap: To cover and let the paste rest.
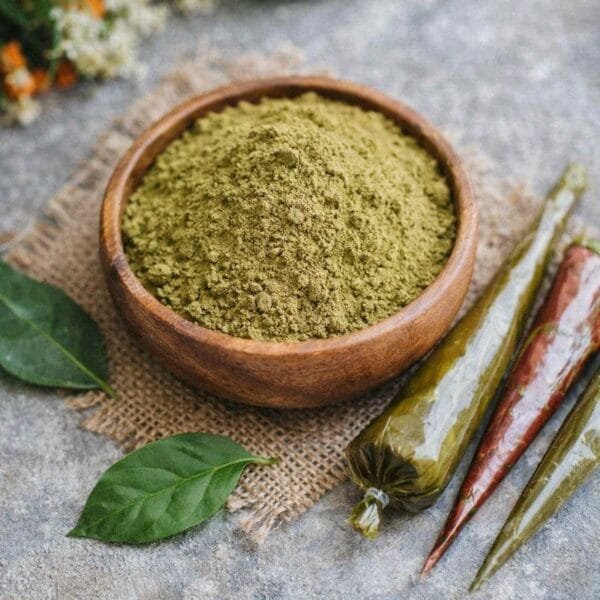
- Henna Cones or Bags: For applying the paste.
- Gloves: To protect your hands from staining.
Step-by-Step Guide to Making Henna Paste
1. Prepare Your Ingredients
Ensure all your ingredients are measured and ready before you begin. Sift the henna powder to remove any lumps and ensure a smooth paste.
2. Mix Henna Powder with Acidic Liquid
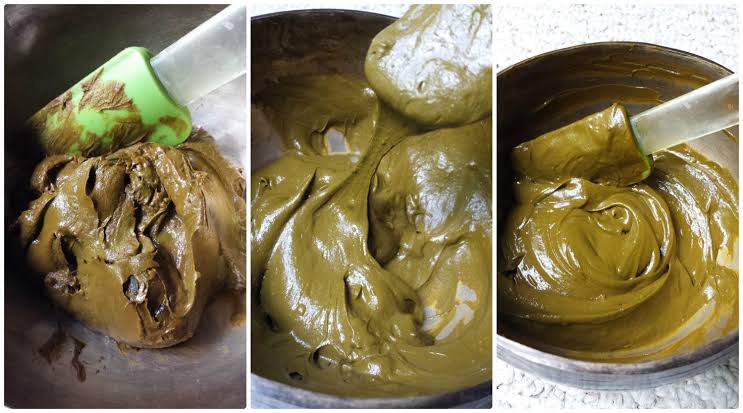
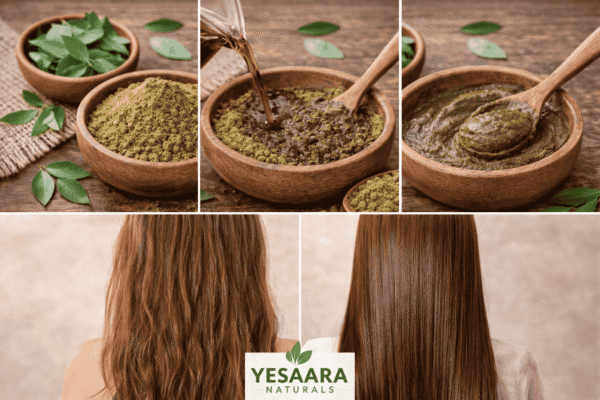
In a non-metallic bowl, combine henna powder with your chosen acidic liquid. Start with a small amount and gradually add more until you reach a yogurt-like consistency. The acidic liquid helps to release the dye from the henna powder, which enhances the color.
3. Add Essential Oils and Sugar
Once the henna and acidic liquid are well mixed, add a few drops of essential oil. Essential oils not only improve the paste’s consistency but also contribute to its fragrance. Next, add a teaspoon of sugar to the mixture. Sugar helps to make the paste stickier and more manageable.
4. Mix Thoroughly
Mix the paste thoroughly to ensure all ingredients are well combined. The paste should be smooth and free of lumps. If the paste is too thick, add a bit more acidic liquid. If it’s too thin, add a little more henna powder.
5. Let the Paste Rest
Cover the bowl with plastic wrap and let the paste rest for at least 6-12 hours. This resting period allows the dye to develop fully, resulting in a richer color. Store the paste in a cool, dark place to maintain its potency.
6. Prepare Your Henna Cones
Once the paste has rested, transfer it into henna cones or application bags. To fill the cones, use a small spoon or a piping bag to avoid spills. Twist the end of the cone and secure it with tape or a rubber band.
Tips for Using Henna Paste
- Patch Test: Always perform a patch test on a small area of skin before applying henna to ensure you don’t have an allergic reaction.
- Application: Use the henna cones to apply designs on clean, dry skin. Practice steady hands for intricate patterns.
- Drying: Allow the henna paste to dry completely before covering it with a protective layer or wrapping to avoid smudging.
- Aftercare: Keep the henna paste on your skin for at least 4-6 hours for a deep stain. Avoid water and excessive sweating during this time.
Conclusion
Making henna paste for cones is a rewarding process that allows you to create beautiful, custom designs with precision. By following these steps and tips, you can ensure your henna paste is perfectly prepared for stunning results. Enjoy the art of henna and embrace the rich tradition of this ancient practice with confidence!
For more henna tips and tutorials, be sure to explore our other guides and resources. Happy hennaing!


